How To Uninstall Mask VPN – Delete from Any Device
Uninstalling VPNs from your device is not a move we recommend. That’s like taking away the one thing that can secure your internet connections and keep you safe from cyber predators. However, as unwise as this move is, we also recognize that people may have good reasons for uninstalling the Mask VPN from their devices.
For some users, it can be because they have run out of space, and uninstalling the app will free up some space. Others may be uninstalling the app to reinstall the app as a means to troubleshoot the application. On the other hand, some users may want to get rid of the application because of the annoying pop-up ads. Whatever your reasons, we’ll show you how to get rid of the Mask VPN application on any device.
What is Mask VPN, and What are Its Benefits?

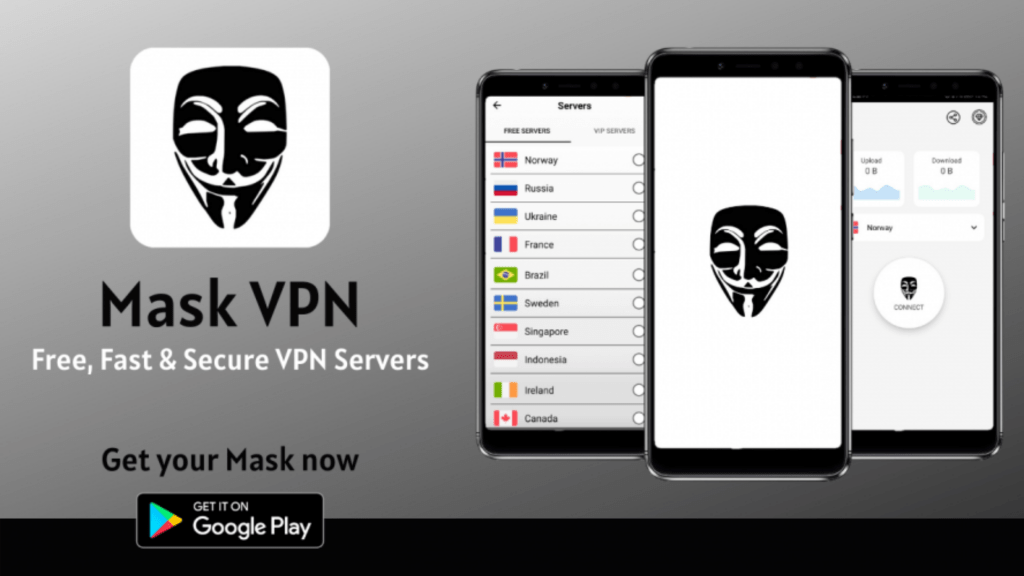
Mask VPN is a free VPN application that offers its users a fast and secure internet connection. The app is available for download on Google Play Store, and the app icon is a mask. This application, like other VPNs, comes with other benefits. They include;
- Giving you access to restricted websites or content: This is one of the favorite benefits of the Mask VPN. A lot of websites tend to use geo-based restrictions to ward off users from specific regions. For instance, a user from Africa may be restricted from using certain websites in some European countries or in America. The same applies to media content. Certain TV shows or movies on Netflix may not be available to Netflix users in some countries. With Mask VPN, you won’t experience this because the application will give you access to any website or media content you want.
- Data privacy: On the internet, your information is key. If you don’t want to experience targeted advertising or have your digital footprint visible, Mask VPN will keep you anonymous while you surf the net by masking your IP address. Sensitive information, such as your banking details, can be intercepted by hackers when making online transactions. This is why making your online presence anonymous cannot be emphasized enough.
- Improved internet connection: Mask VPN hides your data from internet service providers so that they can’t throttle your internet connection when you reach your monthly limit. This ensures you can enjoy unlimited data usage, and there will be no lags or buffers when you want to play video games online or stream media content.
These are some of the benefits of Mask VPN. If you’re still insistent on uninstalling it, then let’s get to it.
How to Uninstall Mask VPN from Mac?

If you’re using a macOS-powered device, follow the steps below:
- First, check if the application is active. If it is, simultaneously click the command + option + escape. This will open the “Force Quit Utility” menu.
- You’ll see all your applications, look for Mask VPN and then click “Force Quit”.
- The app should have been forced to stop, but if you want to confirm it, head to “Show All Processes” and search for Mask VPN. When the application shows, click it and select “End Process”.
- Now, open the “Applications” folder. You can do this from the dock. Spotlight and Finder.
- Look for and select Mask VPN on the applications list. Drag it to the trash bin icon on your PC.
- Follow the prompts that will display so you can finalize the uninstallation process.
This is one way to go about it. There’s an alternative method using a third-party application that’s approved by Mac. This second method will remove every trace of the application, including all its residual data. For this second method, we’ll use an app remover called FreeMacSoft AppCleaner.
- After installing the app and launching it, go to the upper menu bar and select “Preferences”.
- Then select “SmartDelete” and activate it by switching it on.
- Close the AppCleaner and re-launch it again. Ensure you keep the main window open.
- Go to “Applications,” then select and drag Mask VPN to the AppCleaner window.
- The above step will trigger a quick scan. When it’s done, check the files you want to remove and tap “Remove”.
- The removal will require a password. So, you’ll have to verify the removal by inputting your account administrator password.
How to Uninstall Mask VPN from Windows?

There are two ways to go about this; doing it manually or using a third-party application. The latter is more effective and convenient.
For the manual process, we recommend using Windows 10. The steps for the manual uninstallation are below;
- Close the Mask VPN application if it’s running on your PC. To do this, tap the shield icon in the app till it’s not green. Another way is by right-clicking the app icon at the bottom taskbar. Then, shut down the app by clicking “Disconnect.”
- If you want to make sure the app has shut down, right-click the taskbar to open the task manager. Alternatively, press Ctrl + Alt + Delete simultaneously
- Now, go to the start menu and select “Add or Remove Program.”
- You’ll see a list of the installed programs or applications. Pick Mask VPN
- Tap “Uninstall”
- Navigate through the uninstall option to delete the application. If you’re instructed to restart your computer, do it.
- Repeat steps 3 and 4 to locate programs related to the application. For example, TAP Adapters.
After uninstalling the application manually, you should check the PC registry to see if there are still residual files on the application. For this, follow the steps below:
- Go to the start menu.
- Look for “Regedit” and click either that or Registry Editor.
- When the app launches, press Ctrl + F to activate the Find in Page feature.
- Input Mask VPN or a variation such as MaskVPN; if you see any files pop up, delete them.
- At this point, Mask VPN has been successfully deleted.
For third-party software (let’s use Revo Uninstaller), follow the steps below:
- After installing the app, launch it.
- You’ll see a list of all your applications, select Mask VPN.
- Click “Uninstall”, and check the Make a System Restore Point before uninstall before you continue.
- Pick among “Safe, Moderate, and Advanced” for the scanning and removal intensity. They are all good, but the last one is the most thorough. However, it takes more time than the other options.
- Proceed to scan.
- When the file residues appear, pick the ones you want to delete and select Next.
- To cross-check your work, click Ctrl + Delete + Finish.
How to Uninstall Mask VPN from Android?

- Go to settings in your phone and search for applications. When you locate your applications, search for Mask VPN.
- Check the app to see if it’s running. If it is, force-stop the app.
- You can press and hold the app icon for a few seconds to select uninstall when it pops up or uninstall it from the app settings.
- Allow the uninstallation to process till it notifies you that the app has been uninstalled.
Additional Tips for Uninstalling Software on a Windows or a Mac System
Everything is pretty much covered in the uninstallation steps for the various devices. We recommend using an app removing software to delete unwanted pieces of software on your phone because they are less likely to leave file residues in the PC registry.
Questions and Answers About Mask VPN and its Uninstalling Process
Is the Mask VPN easy to uninstall?
Pretty much. As long as you follow the procedure one step at a time, uninstalling Mask VPN should be a piece of cake. We’ve included how you can confirm if there are residues from the application in the system and how you can get rid of them as well.
Is Mask VPN compatible with various operating systems?
Yes. Mask VPN is compatible with Android, mac, and Windows operating systems. The app has a mobile version for smartphones and a web version for PCs.
Can Mask VPN stop showing pop-up ads?
Like other free applications, Mask VPN makes money from the advertisements displayed on its interface. So, they can’t stop showing them. A pop-up ad is a price you pay for using the application.